You can inform guests how they should enter your property — for example, by picking up keys from a specific location.
Beta users: For listings connected to Airbnb, you can also set how guests should leave your property, for example - by gathering used towels before checking out.
Follow the instructions below to add entry or departure instructions for your listings.
Airbnb listings
Set or update your check-in/check-out instructions in Guesty.
Please note that making changes to a listing's check-in or check-out instructions in Airbnb disables your ability to update these instructions in Guesty. In this case, the instructions will be managed in Airbnb and “locked” from being changed from Guesty. The instructions won't be displayed in Guesty but will appear in Airbnb.
All content should adhere to Airbnb’s content policy. The following content isn’t allowed in Airbnb, and if added, will cause the syncing to fail:
- Commercial content (company names)
- Email addresses
- Emojis
- Phone numbers
- Repetitive special characters or symbols
- Website links
- Words in all capital letters
Photo requirements
Follow these requirements when adding photo entry instructions:
- File formats: jpg, png
- Max file size: 6MB
- Max files: 1
Set up arrival instructions
Follow the steps below to set up arrival instructions for your guests.
Step by step:
- Sign in to your Guesty account.
- In the side navigation menu, click
 Properties overview.
 - Click the relevant listing.
- In the submenu, click Pricing & Policies.
- Select Reservation policies from the dropdown menu.
- Scroll down to the "Arrival instructions" section.
-
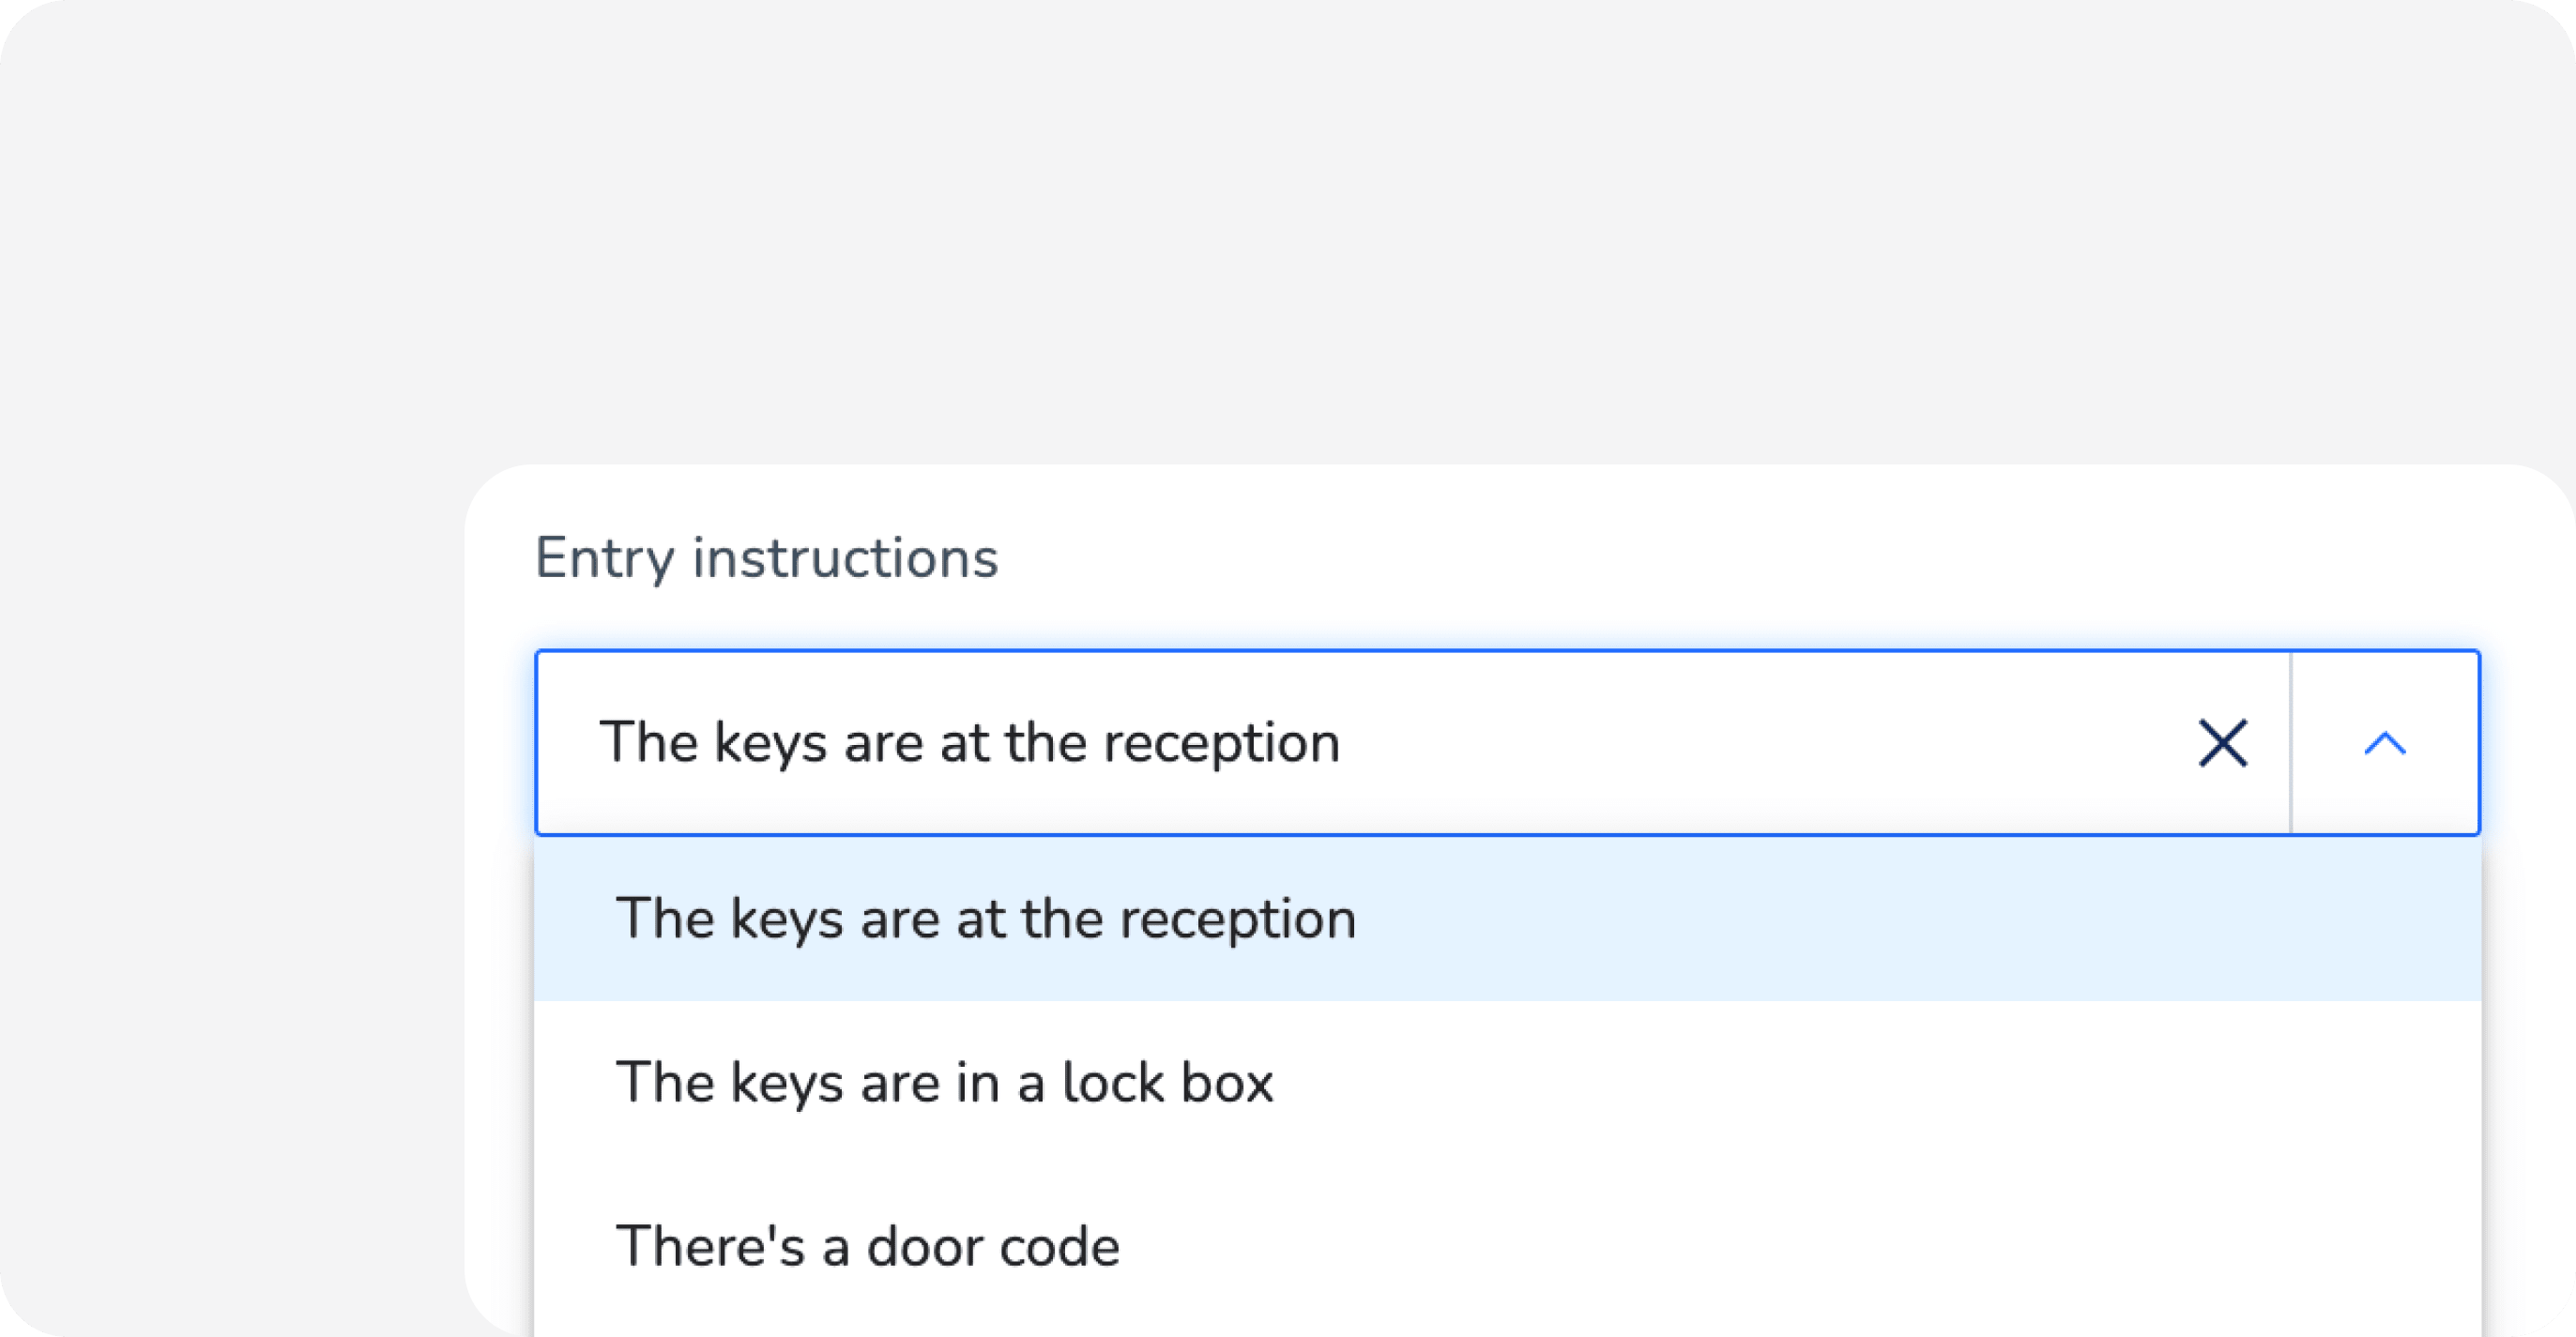
Under "Entry instructions", select the relevant option from the dropdown.
Airbnb users: To trigger "Self check-in" in the Airbnb listing description, select The keys are at the reception, The keys are in a lock box, or There’s a door code.
- Under "Backup entry instructions", select the relevant option from the dropdown.
- Under "Additional entry instructions", enter any relevant information.
- Under “Photo entry instructions”, upload a photo by dragging and dropping files or click Upload photos.
-
Under "Luggage storage (optional)" and "Check-out instructions (optional)", fill in relevant information.
Learn how luggage storage and check-out instructions work compared to other fields.
- Click Save.
Luggage storage and check-out fields
Unlike the other arrival instructions, the "Luggage storage" and "Check-out instructions" fields don't publish to your Airbnb listing page and don't automatically send to guests. They are designed for:
- The Guesty Booking Engine: The content appears on your direct booking website.
- Merge variables in automated messages: The content can be pulled into your guest communication using variables.
To have this content reach guests, insert the matching variable into an automated message (for example, a pre-departure message):
-
Check-out instructions:
{{listing_checkout_instructions}} -
Luggage storage:
{{listing_luggage_storage}}
Beta: Set up departure instructions
Departure instructions will only sync with Airbnb, and b displayed after the reservation is confirmed.
Step by step:
- Repeat steps 1-5 above.
- Scroll down to the "Departure instructions" section.
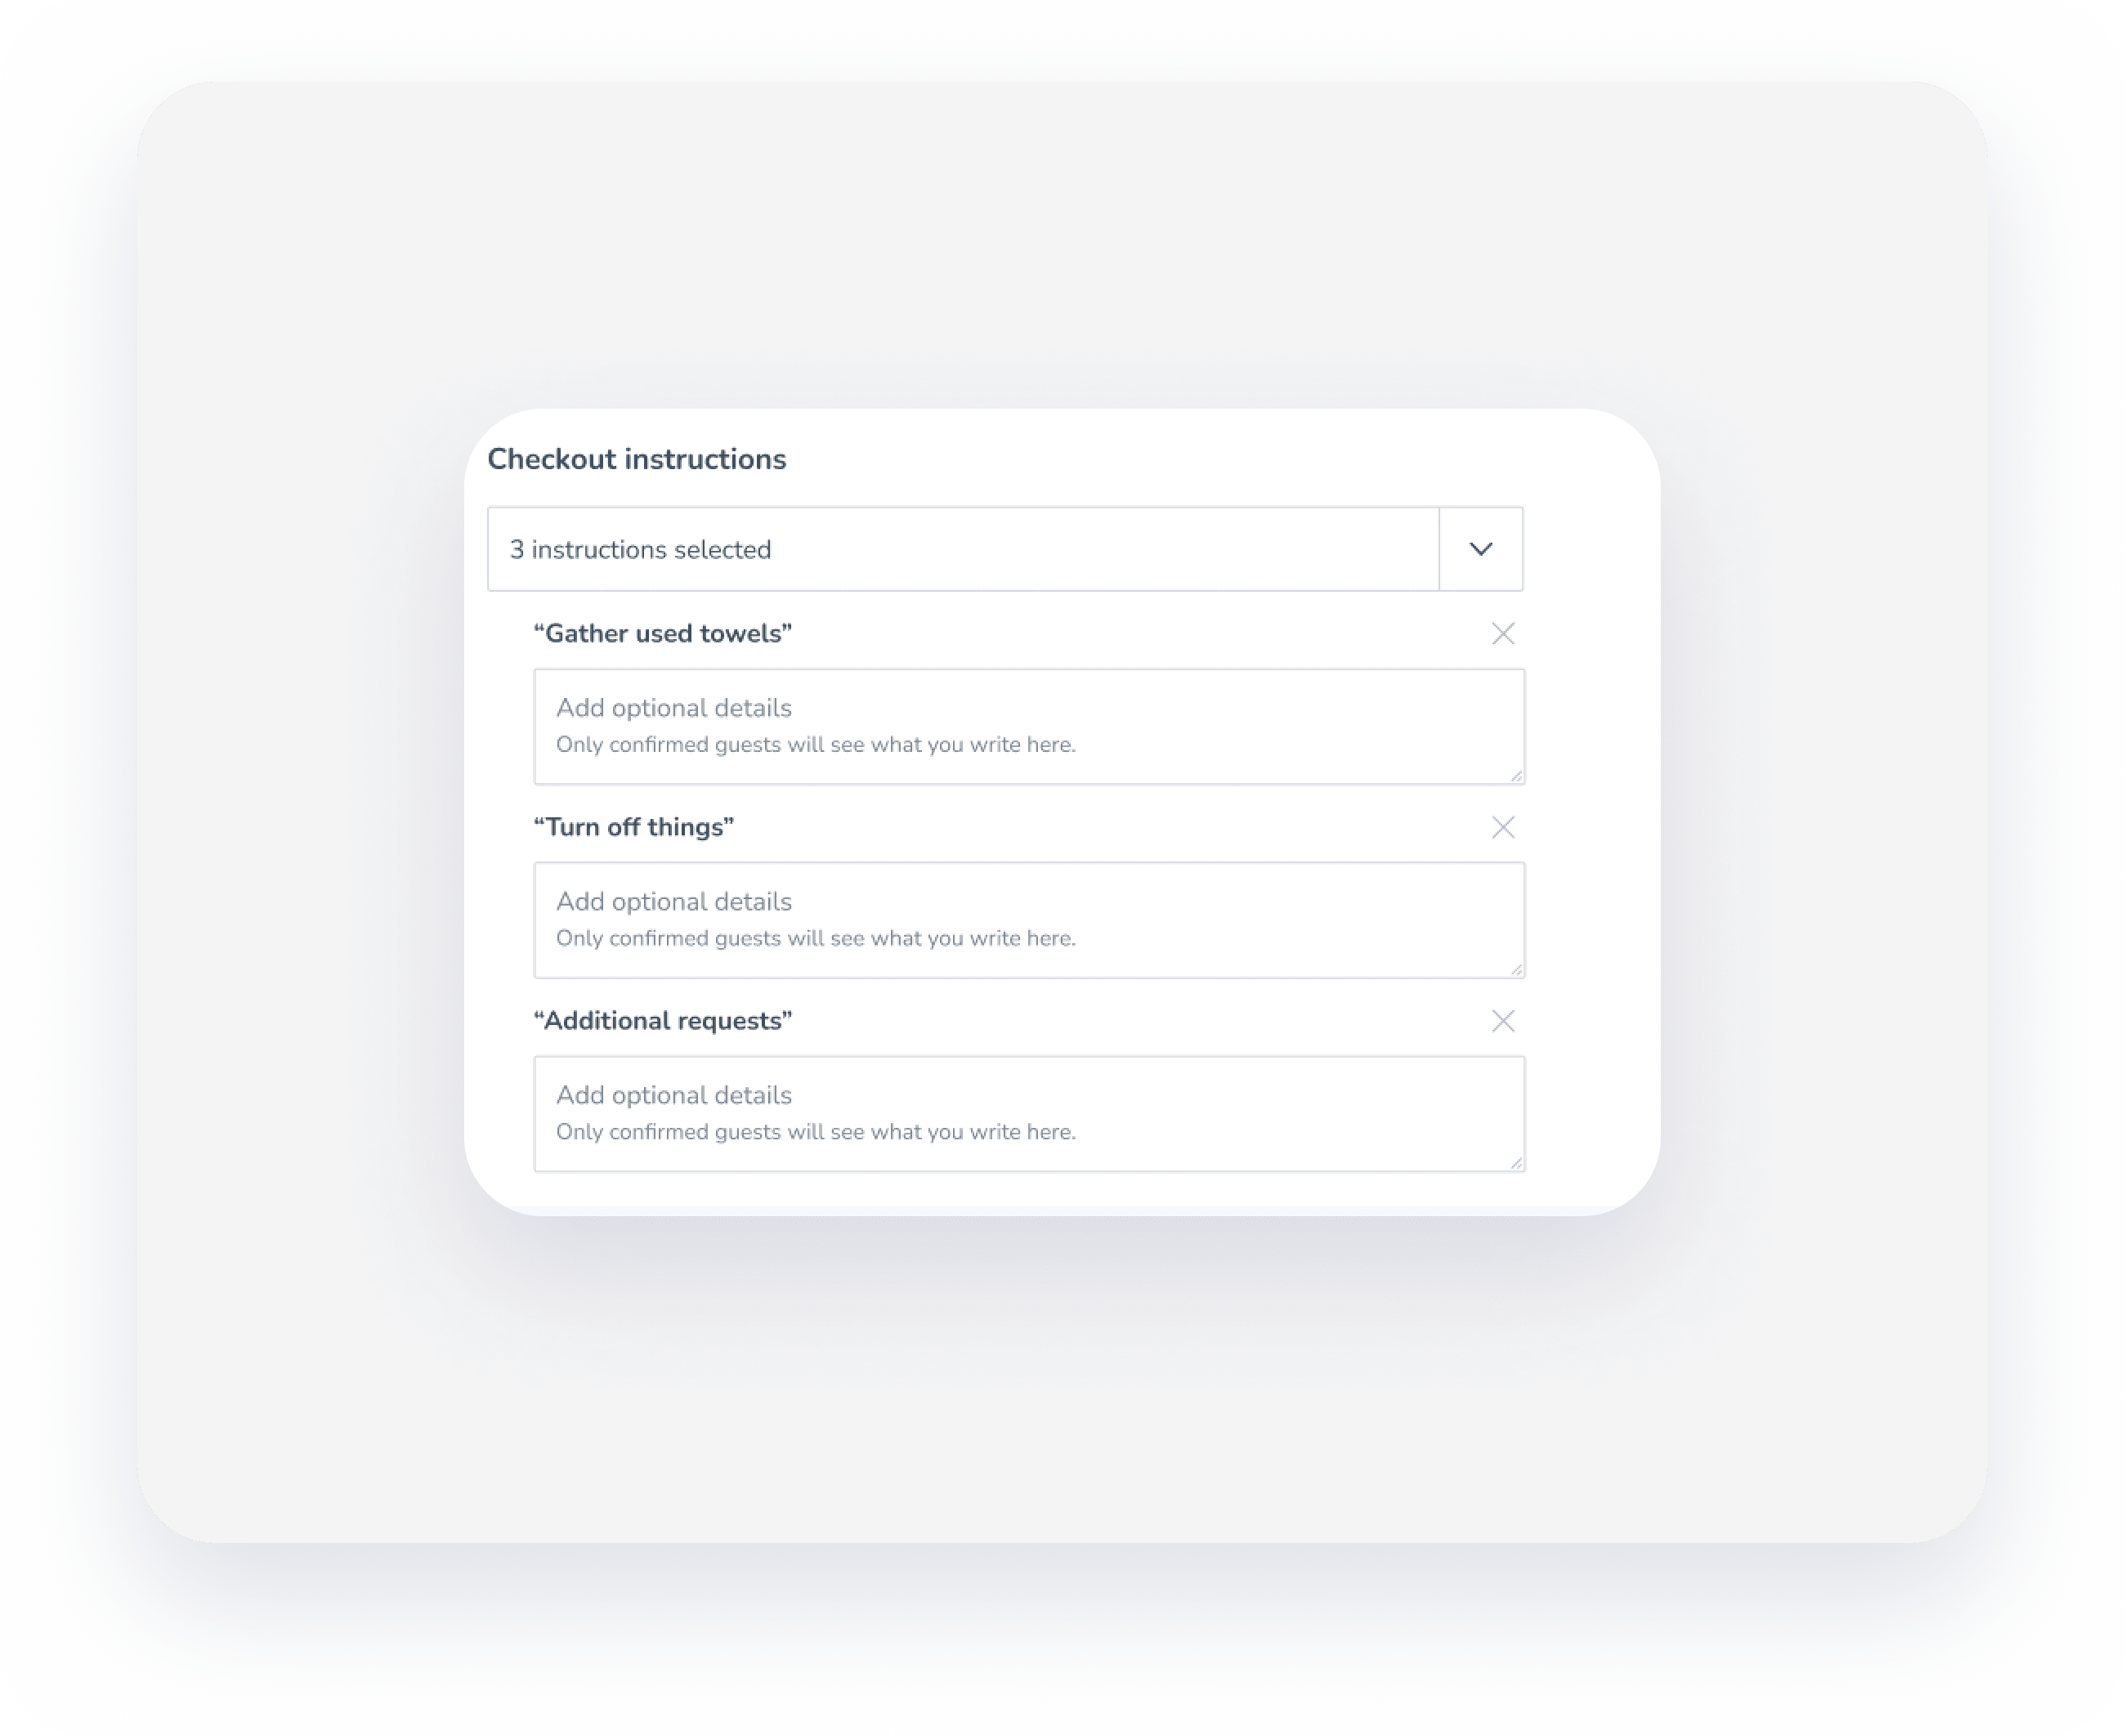
- Click the Select or type field and check the boxes of the instructions you want to add.
- Fill in any additional details in the text field.
- Click Save.
